 All server queries done.
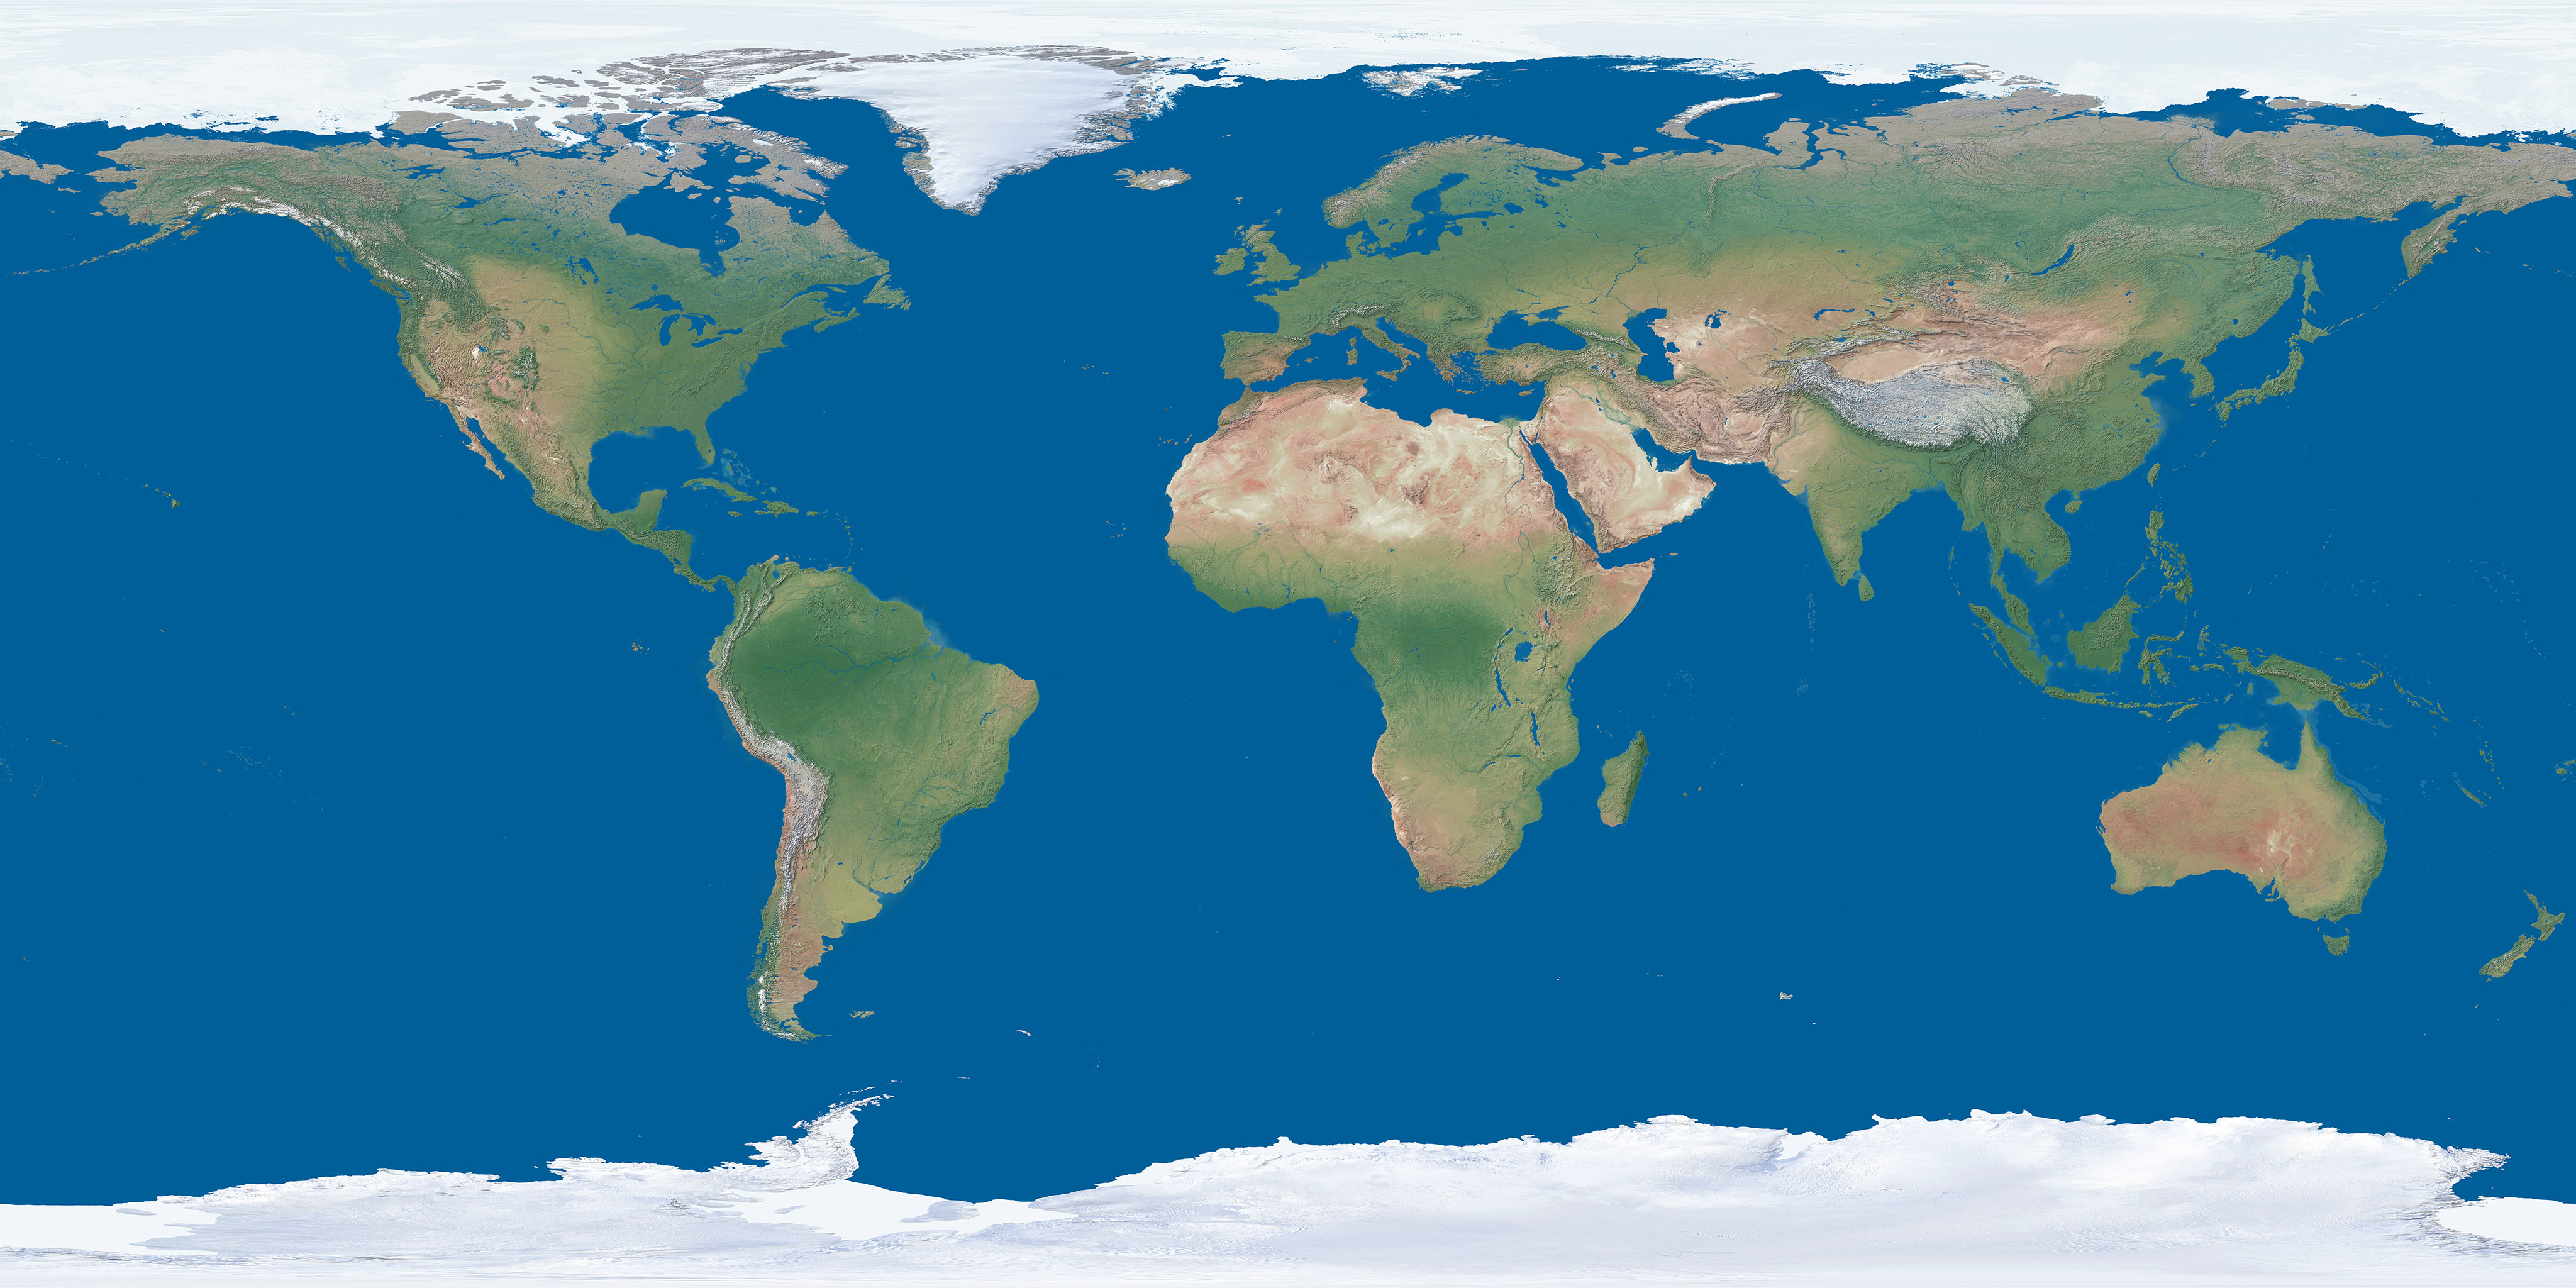
-
Cluster type Sum Particles flux Energy flux [MeV] H Dot No data No data No data Small blob No data No data No data Heavy blob No data No data No data Heavy track No data No data No data Straight track No data No data No data Curly track No data No data No data Sum No data No data No data Histograms
Additional frame data
This data are from the first frame in the integral mode.
- Proba-V power status
-
- No data
- No data
- Proba-V thermal status
-
- No data
- No data
- No data
- No data
- Bias voltage
-
- No data
- No data
- TPX clock in MHz
- No data
- B field strength
-
- No data
- No data
- No data
- PSU failures
- No data
- PSU status
- No data
- frame error
- No data
-
Clusters
Type (select all / deselect all)
Attributes
Time range
This allows you to filter the frames by the time range. Do not use in integral mode, it can give you some unexpected results.
Mask
Note that the mask will affect all displayed data except the radiation timeline and radiation map.
Add an individual pixel to the mask
Masked pixels
- There are not any pixels currently in the mask.
-
Generate radiation map
-
Pixel matrix
Colormap
Colormap scale
Colormap range
Background
Animation duration
Integral mode
Timeline
World globe
Camera position
Particles directions
World map
Integral mode
-
About the application
This website was developed by Herbert Waage as a master's thesis at Faculty of Information Technology, CTU in Prague.
It retrieves data from files in the ROOT file format which are generated in the Institute of Experimental and Applied Physics, CTU in Prague.
User's guide
This guide is for simple orientation in the application. If you want to know more about this visualization, read the thesis.
Layout
You can see the pixel matrix with possibilities to get next/prev frame or access the animation mode on the left side. You can also download the pixel matrix data from here.
There is displayed a radiation timeline on the left top side. It visualizes the radiation levels around the shown frame.
There is the position of the satellite on 2D map in the top right corner. It uses the Mercator projection for converting longitude and latitude to 2D coordinates. You can also filter by the positions here just by mark the desired region on the map. Under it on the right is the 3D visualization of the position of the satellite.
This guide is in the area of the application where are the main settings of it.
Settings & filters & options
The first menu item is for statistics of the pixel matrix. There are cluster types, their numbers and energies. You can plot some histograms of the values here. You can also see here also the configuration of the Proba-V satellite.
You can filter the data by time, acquisition time, cluster type, mask or basic attributes in the second menu item. Note that this filter affects all data displayed (in the future too), so do not forget to reset it if you want to display new unfiltered data.
The third menu item represents the radiation map generation. You can set here the date range and some other settings of the final generated map. The application then loops over the set of frames, calculate their positions on the 2D map, calculate the average values of the overlapping frames and displays them on the 2D map.
The next menu item is the general settings of the application. You can set here the main behaviour of the pixel matrix, the timeline, the 2D and 3D visualizations of the satellite. You can also enter the integration mode here, which summarizes all values across N frames.
Keystrokes
- Left arrow
- get the previous frame
- Right arrow
- get the next frame
- Spacebar
- enter/leave the animation mode